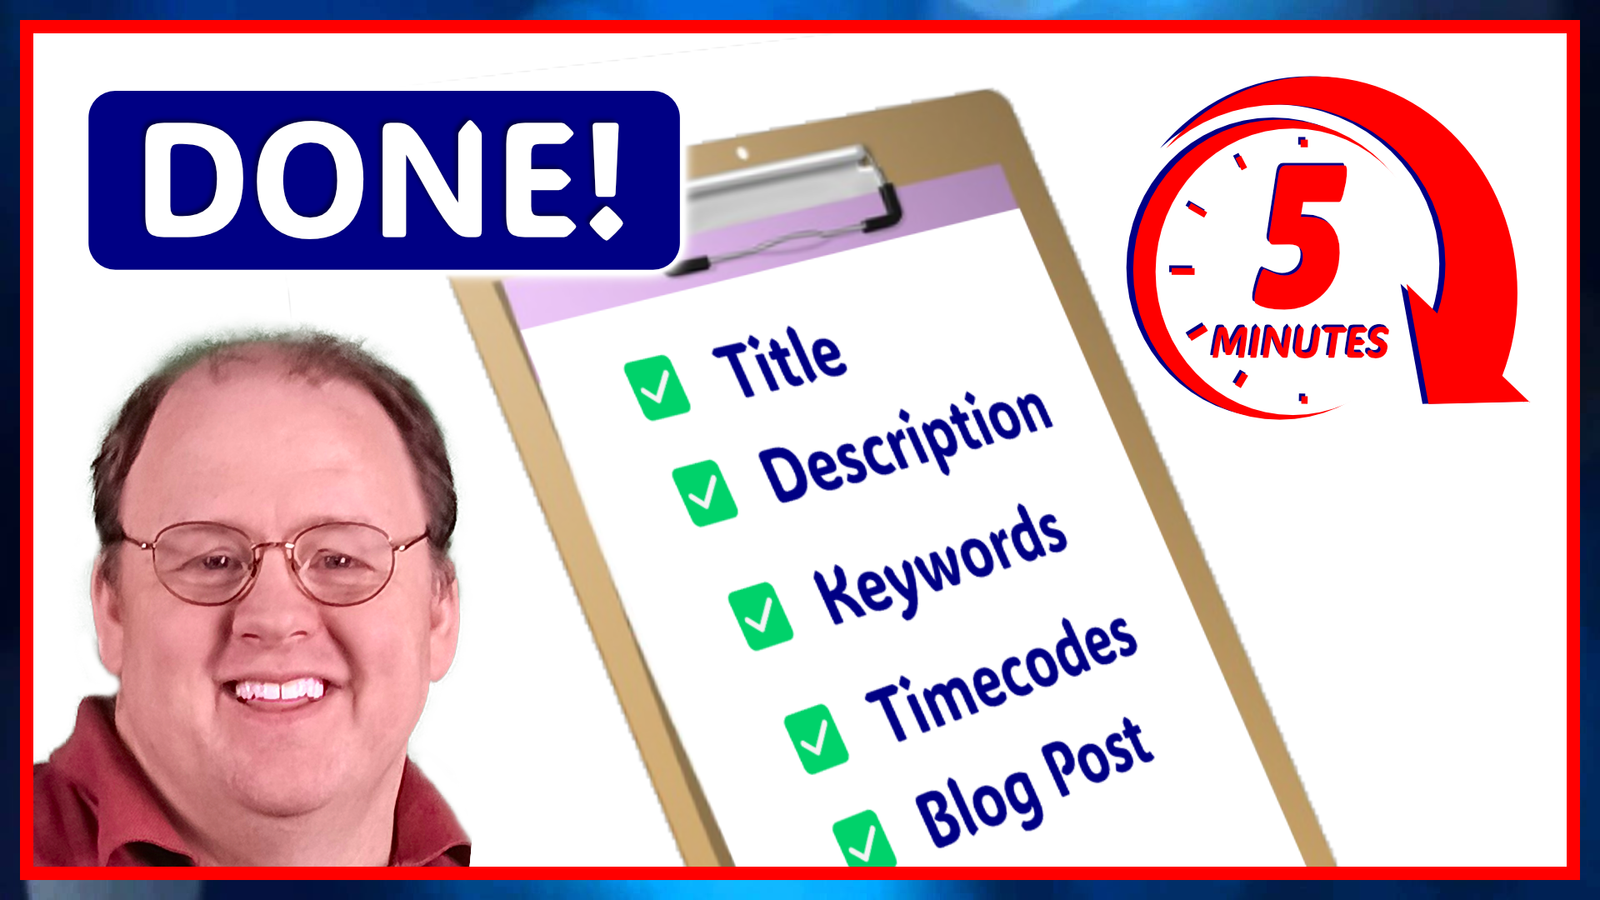
This is the transcript of the youtube video EPISODE 005 - NotebookLM Use Case - Content Creators Youtube Descriptions. This video was published on our YouTube channel at https://www.youtube.com/@thehomeworkdad

Transcript Starts Here:
Are you a content creator and busy parent who wants to save time writing your video descriptions, coming up with keywords, generating title options, or even writing blog posts to promote your video? What if I told you that I have a way you can generate all of that in under 5 minutes? Sound too good to be true? It's not. If you stick around, I'll show you how I do it.
Okay, I'm here at my computer. I'm on a Windows computer, I'm using Google Chrome, and in order to do this, you need to have a Google account. The first thing you do is you upload your video. So, of course, from within YouTube Studio, you can click "create" and do your upload. Once you get your video uploaded, you then need to get the transcript. You can come to YouTube Studio. I would typically suggest that you have the visibility set to "unlisted" when you're doing this, and I'm using a video that I've already made public. So, after the video is uploaded, click the link for your video, and it would bring you to a screen where that video is. When you get to that screen, it would look something like this with the video at the top, and you click the "more." From "more," now you, of course, like I said before, this is a video that I've already got a description and stuff in. Yours would be blank. But you come down to the bottom where it says "trans-" "show transcript," and you click "show transcript." You would then put your mouse before the first zero and start holding your mouse button down, being careful not to go beyond the bottom of the screen here, typically beyond where it says "English," and then you would hold your control key down and do control C for copy. You can also right-click and choose "copy." Either of those work.
So, after you've copied the transcript, you would come over, and you would come over to Google Docs, and you would create a new Google Doc. So, from within your Google Drive, you click "new" and come down and choose Google Google Doc. So, you create a new Google Doc, and you'd name it "video transcript." That's what I named it. You would then paste your transcript within that Google Doc.
So, now this is where the magic kind of begins. So, I have a simple AI prompt, so I copy that prompt, and I have a NotebookLM account that I have created. It's a free account. I'll have a link at the end if you don't have an OP LM account, that will take you to another video that I did that will show you how to set up an account. So, I go within my NotebookLM account. I have two sources, and the two sources that I have, one is called "video transcript" and one is called "YouTube description template." So, both of these sources were added simply by using the "add source" feature and choosing Google Docs, and then within my Google account, I have those two docs: I have a "video transcript" document and I have a "YouTube description" document. You would simply click on it and click "insert." Now, I'm not going to click "insert" because I've already added them to this. The neat thing about utilizing Google Docs within NotebookLM is that you can, when you click on a source that is a Google Doc, you are given the option here at the top to click to "sync with Google Drive." So, I'm going to click and sync this source with Google Drive, and what it's doing is it just went and it reloaded that document, which is where I posted that transcript.
So, with that done, I take that AI prompt that I had, and I paste it here, and then I tell NotebookLM to follow that prompt. So, I click "go." After a couple seconds, it runs the prompt, and then it comes up with what I asked it to do, and here it is, it's followed the prompt, and it's followed my template, and it has generated—in my template, I asked it to give me 10 suggested video titles, I asked it to give me a promotional blog post, I asked it to give me the keywords all separated by commas, I asked it to generate a meta description. Now, a meta description if, if you have a website, um, and you post blog posts then and you're probably familiar with the fact that the meta description and the keywords are used within blog posts, um, of course the keywords are used within the YouTube video as well. So, as you see, it's generated the description, it's generated the, um, the "what you'll learn" features. It went and it read through, um, the transcript, it generated the time codes for me, so all I have to do is I click "copy," I would then come over to that YouTube Studio, and within here, I would do, uh, a paste or control V. After a second or so, I would then look at what I pasted.
So, I copied the entire thing, so I don't need all of this, so I can delete what I don't need. Um, now, of course, I would have also selected one of the titles, I've already got a title here, but I would have selected one of those 10 titles that I generated, so one of one of these 10 titles or I would use these 10 titles to help me decide which title I want for my, for my video. After I have, um, given it a title and removed the other parts that I don't want, saved within my description, so I'm just, so like for instance one of the things I have here is the, uh, video call to action. Um, so I have it generate you know three or four different options. I, I'm going to use the first one, so I'm going to just highlight that and bring and bring that in, and then these other ones I will delete. You will notice, um, so I just deleted that slash, I have noticed that sometimes it does put those slashes in, so if you see them of course just go down through and delete them, it only takes a second. Clean this up just a little bit. Then once you're happy with the way it looks, you can just simply hit "save."
So, what makes this possible is understanding that NotebookLM allows you to utilize templates, and that's what I've done. So, the YouTube video description template that I created, um, is, is this. So, this is what the template looks like. So, basically, what it's doing is it's taking this template that is one of my Google Docs, and it is following the instructions I've given it within this template in order to generate the information that it generated. So, let me say that again. So, within NotebookLM, I have two documents. So, the two documents that I have are the video transcript and the YouTube YouTube description template. So, this is the video transcript, this is where we pasted the transcript from the YouTube video before we took and saved that. We then take and we utilize an AI prompt. So, I copied the AI prompt, I came into my notebook for NotebookLM. So, I came into my YouTube helper notebook that I had created, and that YouTube helper notebook simply has those two sources that are Google Docs that I added by clicking here and choosing the Google Docs, choosing the individual, um, source and hitting "insert." Once I have those two sources within my notebook, the first thing you do is you come to each of those two sources, and you, you click "sync." Once you synchronize each of the sources, any changes that you've made to the template or to any new video transcript that you pasted there, um, have been synchronized. So, you then take that AI prompt and you paste it in the chat. You hit, hit "enter" or click the little arrow, and then it generates the prompt. I'm sorry, it, um, takes the prompt and generates the template. And so, then you would simply take, and you would copy, choose "copy" here, so it says "copy to clipboard," you'd come over to your, um, YouTube Studio, paste it in here, remove any of the stuff that you don't want. You can, of course, always, um, paste it in a Google Doc. You're going to notice that when you paste them in a Google Doc, because of the way I have the template set up, it actually looks different in a Google Doc than it does in the YouTube Studio. It's a little bit complex, and it's out of the scope of this video, but the template, um, has to be set up right in order to present the document for a Google Doc. Um, it's set up differently than it is for, um, the YouTube Studio.
Okay, so I think that's what I have for you today with this video. I'm going to put a link in the show notes as well as at the, um, end of this video for the deep dive on the deep dive for beginners on the NotebookLM software, um, that was a video that I did, um, uh, a few days ago. All right, before I go, if you'd like to get a copy of the template that I used, I'll put a link here for you to be able to download it, uh, from my website or the link will also be in the show notes, or you can scan the QR code that's on the screen. If you found this video helpful and would like more content like it, please consider subscribing to the channel. And if you have any suggestions for other videos, consider leaving those suggestions in the comments down below. I will read and respond to each of them. Thank you for your time, and, uh, I hope you found this video helpful. If you did, uh, once again, I'd really appreciate it if you'd subscribe to the channel. Have a great day.
Video Resources:
The template file I used is linked below:
CLICK HERE
The link is to the Google Doc template. When you click the link you will be brought to Google Docs and will need to make a copy of the document.


